We’re proud to announce the launch of some exciting new invoicing features. Designed to help you manage your invoicing whilst maintaining Okappy’s easy to uses simple approach.
In summary, the following changes have been made:
- You can now add multiple lines to your invoices
- Each line includes description, quantity, unit price, discount and VAT
- You can add items and their relevant nominal code.
- If you’re using Xero or QuickBooks, items will automatically pick up from your inventory
- You can have different VAT amounts for each line
- Totals will automatically calculate for each line and for all lines
- We’ve added a change log so you can see what was done, and by whom, for each invoice
- Improved notifications and alerts
- Invoice payment handling has been improved and speeded up
- You can now turn the Pay invoice button on or off for all customers
- You can update Sage account numbers for each customer
Key changes
Previously you were limited to up to 3 lines which could include labour, material and other costs. With the new version you can now add as many lines as you like.

You can select from your list of items and then add description, quantity, unit price, discounts and VAT rates.
Totals would always calculate using Okappy, however with V2 the calculations have been turbo charged. Each line now calculates based on the quantity, unit price, discount and VAT rate that you entered. A running total for the invoice as a whole is also calculated.
When raising an invoice from a job, the information from the job still gets pulled in the invoice according to the settings in the relevant job template.
Note: The order with which information is pulled from the job into the invoice may be different to the order in which it was pulled through previously.
You can set up different items and their related nominal code. To do that, simply
- go to Invoices,
- click Invoice options towards the top right of the screen
- select Accounts settings
- Add your items and nominal code

If you are using Xero or QuickBooks, this information will automatically pick up from your inventory. See Using Xero Inventory or Using QuickBooks Inventory for more information.
You’ve always been able to see each action for your jobs. The same functionality has now been added to your invoices. Click the change log to see what was done for each invoice and by whom.

We’ve improved the notifications and alerts so you have more information about what is going on. This is particular important when working with other software such as Xero and QuickBooks.
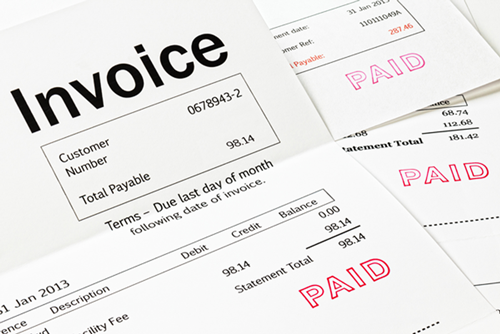
You’ve always been able to take payments for your invoices through Okappy. We’ve speeded up the process and made it more transparent. We’ve also improved how invoices show as paid. They now show as paid when
- You mark an invoice as paid manually
- When an invoice is paid through Okappy
- When you mark an invoice as paid in Xero
As soon as an invoice is marked as paid you will see an update in your invoicing screen. You can also turn on notifications and receive an email confirmation when an invoice is raised and/or paid.
You also have more control over which invoices can be paid through Okappy. You can turn the payment button on or off for all customers or for individual customers. See Taking payments via Okappy for more information.
If you bill some of your customers through the Construction Industry Scheme (CIS), you can now also process VAT Reverse Charge invoices.
See Raising VAT Reverse Charge Invoices for more information.
Updating to Okappy Accounts v2
The process to update to v1 accounts is
- Stop raising invoices,
- Let us know you are ready
- We will flick a switch in your settings
- We’ll check your invoices behind the scenes to ensure they have all the correct data
- We will log in to your account to check a sample of invoices
- If there are any not displaying properly we will investigate and update them
- Next time you logged in you would see the new functionality when you add or edit an invoice
- There might be the odd invoice that we have missed, in that case let us know and we’ll adjust it